- All India Fast Delivery
Monolight Style
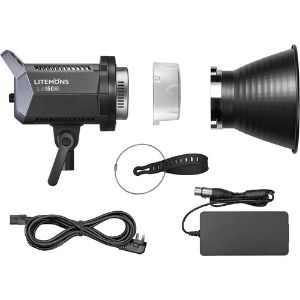
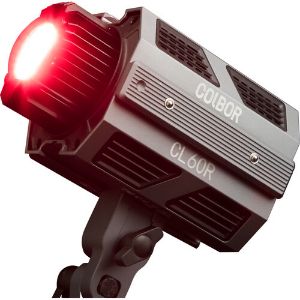
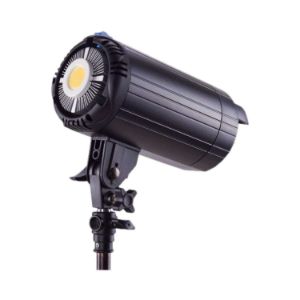
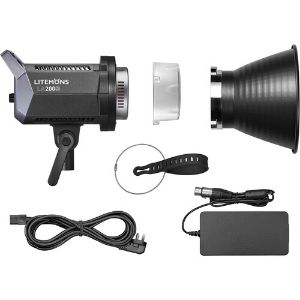
Chosen for their power and valued for their efficiency, monolights have long served as the light source of choice for portrait photographers. Whether working in studio or on location, these all-in-one strobes can play nearly any role in a lighting setup. Add the wide range of modifiers available to shape their output, and it becomes hard to think of a more valuable lighting tool in the portrait studio. This article introduces the equipment you will need to get up and running with monolights before covering some tips on how to make the most out of these lights when creating portraits.
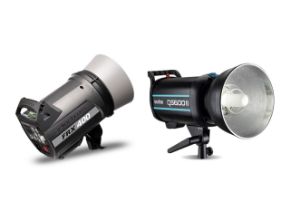
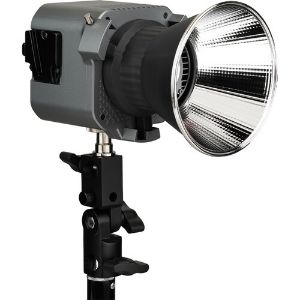
Monolights get their name from the fact that they combine a flash head (strobe) and power source into a single unit. Despite this self-sufficiency, they do require a line of communication with your camera. In the past, it was not uncommon to use a wired sync cable to trigger your light, but today most are controlled wirelessly.
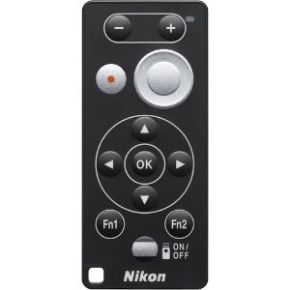
Syncing your gear requires a compatible transmitter and receiver. Many newer lights come with a receiver built into the unit, so you don’t have to make a separate purchase. However, even if you have a built-in receiver, you will still need a transmitter to send a signal from your camera to trigger the light. It is important to make sure that your transmitter is compatible with your camera and light to take advantage of advanced features like TTL or HSS when available. If you are managing more than one light, you may want to group units so you can control settings efficiently.
An equally useful tool when working with monolights is a light meter. Choose a model that can trigger your lights remotely to achieve accurate readings. While you could rely on the TTL function of some newer models of monolights, learning how to set up your lights manually is crucial for achieving precise and consistent results.
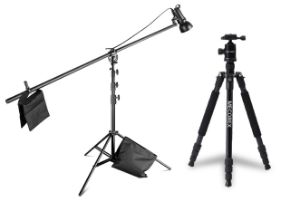
A major benefit of working with monolights is the ability to position your light almost anywhere you need it. However, unless you plan on asking an assistant to hold your light until their arms go numb, you will need to secure each light to a light stand or other compatible mount. Check out this article to learn more than you ever wanted to know about choosing the right light stand to meet your needs. If your lighting rig requires a bit more inventiveness, explore our guide to mounts and clamps here.
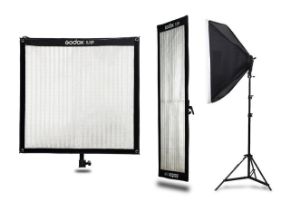
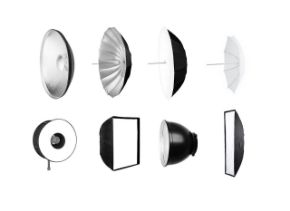
Last but certainly not least: modifiers. Unmodified light is too harsh and uncontrolled for most types of portraits. Soft light is usually preferred for portraiture, because it produces a gentler gradient between shadows and highlights. Softboxes, umbrellas, and beauty dishes are the most popular modifiers used by portrait photographers. Learn about the pros and cons of each modifier here. When precise light placement is needed, grids or snoots can be used to direct light in an image. For creative applications, gels can be applied to add a splash of color to your portraits.
Now that we are finished shopping, what can you do with your new light? Many successful portraits have been made using a single monolight as a key source and a reflector or bounce card to fill shadows. Position your light above and off-angle from your sitter and add some bounce from below. A useful exercise when getting started is to move your light around your subject, taking note of how its position affects the shadows in resulting images. Curved reflectors are especially useful for portraits because they bounce and wrap light while producing semi-circular catchlights. Use a silver reflector if you are looking to create contrasty images, or pick up a white fabric if you want a muted effect.
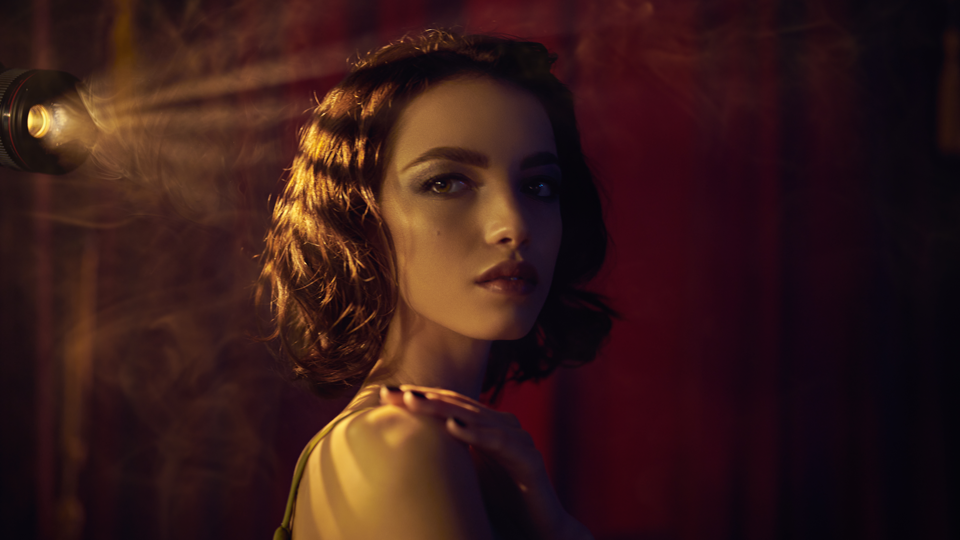
You can also use a single light to create low-key portraits. Grids and snoots work best as modifiers for these types of images, since they will ensure precise light direction. Flags, V-flats, and black-out fabrics are also useful tools to have on set when you need to build a dark environment for low-key images. For tips on creating solid black backgrounds, check out this article. Working with a completely dark environment allows you the freedom to “paint” with multiple gelled lights for creative effect. To learn more about making low-key portraits, click here.
With each additional light to join your collection come new portrait possibilities. A second light can replace a reflector to boost fill or match your key light to produce a neutral effect. A third light is often used to provide background separation for sitters, especially when working with dark backgrounds. Once you have a trio of lights, be sure to learn the fundamentals of three-point lighting. This tried-and-true approach to lighting is essential to understand whether you plan on using it, modifying it, or subverting it altogether.
What is your favorite way to make portraits using monolights? Share your tips in the Comments section, below!

